LORA模型
有人叫小模型,也有人叫角色卡
這與一般常用的模型,容量少很多,但相對的,生成的圖也較專一
目前常使用的,就是ckpt加小LORA,能更精準生成自己的需求
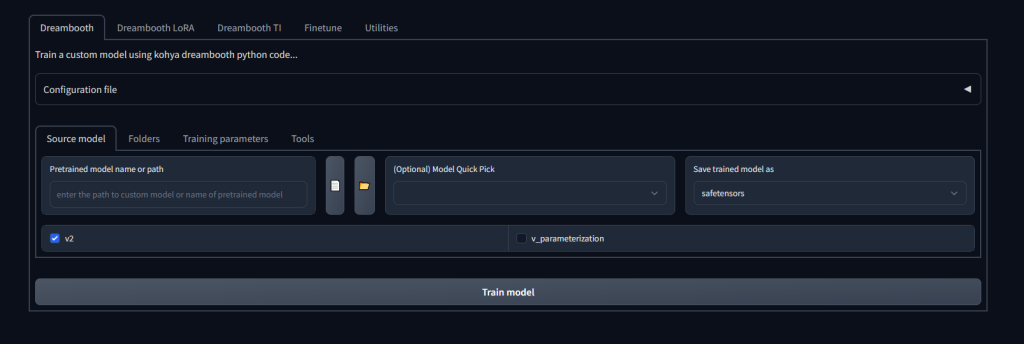
安裝Kohya’s GUI
想要用LORA模型,除了網路上下載,另一個方式就是自己訓綀\
Kohya’s GUI就是一個訓綀介面,與Stable Diffusion web一樣能產生web介面,但特地分開(主要是Stable Diffusion web更新太快了,易有衝突問題,就先分開了)
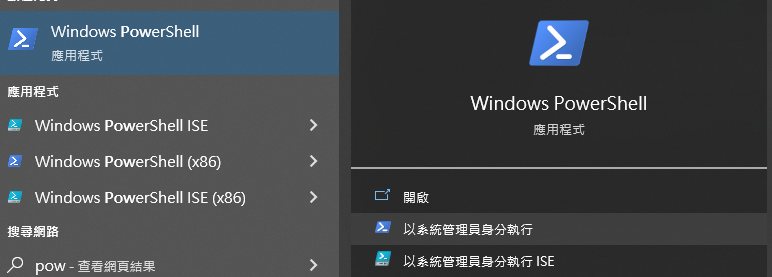
首先,打開 windows PowerSheel 使用系統管理員身分執行
輸入
Set-ExecutionPolicy Unrestricted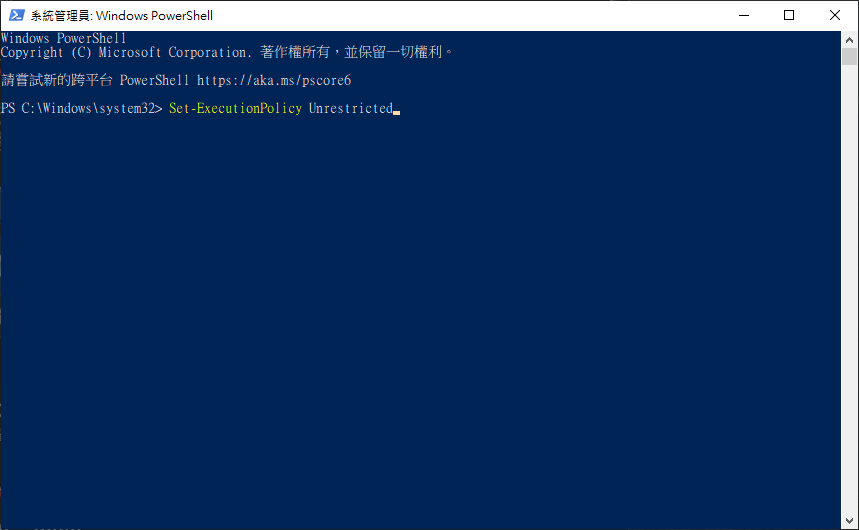
回答 A

可以關掉 windows PowerSheel
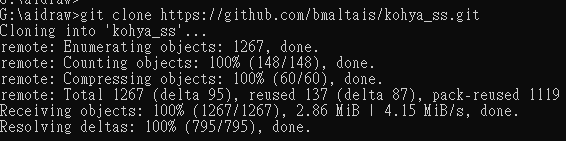
打開cmd 切到要放程式的資料夾下,輸入
git clone https://github.com/bmaltais/kohya_ss.git把程式下載回來
接下來輸入
cd kohya_ss切換目錄到kohya_ss
接下來要下載很多東西,照著一行一行執行
注意!!執行第一筆命領後,路徑前一定要帶有(venv)才正確

python -m venv venv
.\venv\Scripts\activate

pip install torch==1.12.1+cu116 torchvision==0.13.1+cu116 --extra-index-url https://download.pytorch.org/whl/cu116

pip install --use-pep517 --upgrade -r requirements.txt

pip install -U -I --no-deps https://github.com/C43H66N12O12S2/stable-diffusion-webui/releases/download/f/xformers-0.0.14.dev0-cp310-cp310-win_amd64.whl

copy .\bitsandbytes_windows\*.dll .\venv\Lib\site-packages\bitsandbytes\

copy .\bitsandbytes_windows\cextension.py .\venv\Lib\site-packages\bitsandbytes\cextension.py

copy .\bitsandbytes_windows\main.py .\venv\Lib\site-packages\bitsandbytes\cuda_setup\main.py
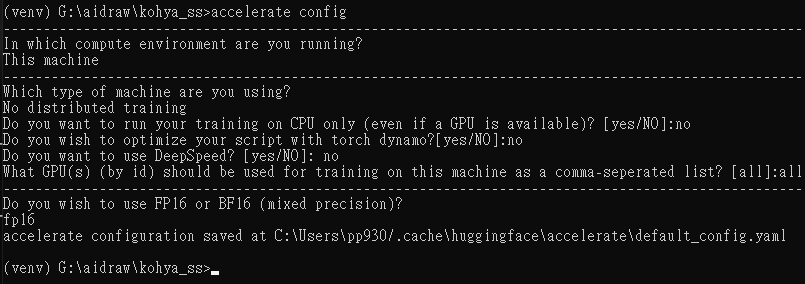
接下來進行設定
accelerate config接著照著圖片設定
執行
目錄中找到 gui.bat點開

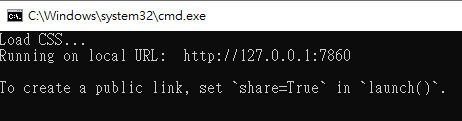
出現網址後,使用該網址就能開啟
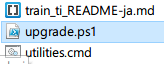
更新
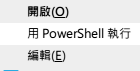
在目錄中,找到upgrade.ps1 右鍵> 用powerShell執行
CUDNN 8.6
允許更大的訓練批量大小和獲得更快的訓練速度
https://b1.thefileditch.ch/mwxKTEtelILoIbMbruuM.zip
解壓縮後將 cudnn_windows 整個資料夾移動至軟體根目錄下,並在根目錄用終端機執行以下指令
.\venv\Scripts\activate
python .\tools\cudann_1.8_install.py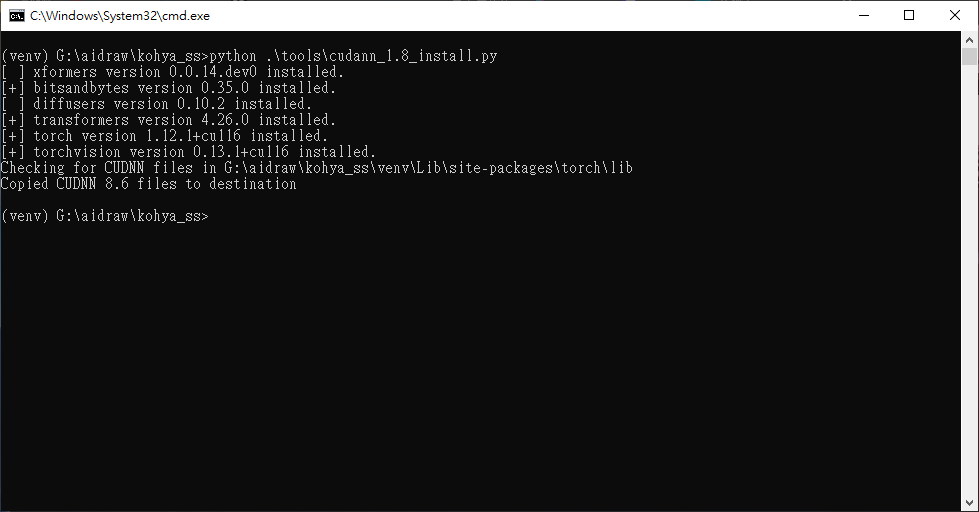
出現Copied CUDNN 8.6 files to destination就是安裝成功